
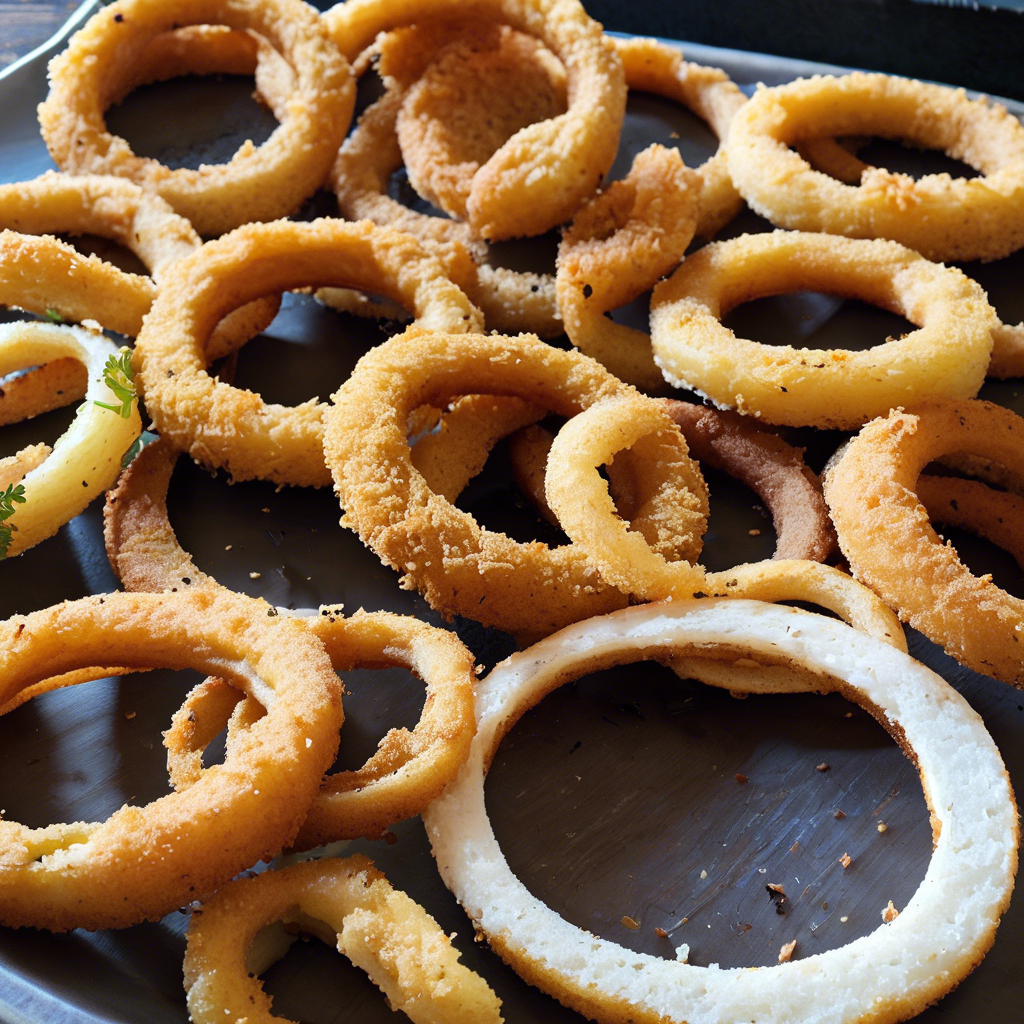
I recently had the pleasure of trying out a delightful recipe that has quickly become a favorite in my household: crispy onion rings, but with a healthier twist—they’re baked instead of fried. The result? A guilt-free indulgence that doesn’t skimp on flavor or crunch. My family, who are usually fans of traditional deep-fried onion rings, were initially skeptical. However, after just one bite, they were hooked. The baked version retains all the savory appeal of the original, minus the extra grease and calories. This recipe not only satisfied our craving for something crispy but also left us feeling light and happy, making it a win-win for our family meal times.
Ingredients
The key to making these baked onion rings irresistible lies in the ingredients used. Here is what you’ll need:
- 2 large onions, preferably sweet varieties like Vidalia or Walla Walla
- 1 cup all-purpose flour
- 2 teaspoons baking powder
- 1 teaspoon salt
- 1 teaspoon black pepper
- 1 cup buttermilk
- 2 eggs
- 2 cups panko breadcrumbs
- 1 teaspoon paprika
- 1 teaspoon garlic powder
- Olive oil spray
Instructions
Preparing these crispy onion rings is a straightforward process, though it does require a bit of patience. Follow these steps for perfect results:
Step 1: Preheat your oven to 450°F (230°C) and line a baking sheet with parchment paper or lightly oil it to prevent sticking.
Step 2: Peel the onions and slice them into 1/4-inch thick rings. Separate the rings carefully and set aside the smaller inner rings for another use or discard them.
Step 3: In a shallow dish, combine the flour, baking powder, salt, and pepper. Mix well to ensure even seasoning.
Step 4: In another bowl, whisk together the buttermilk and eggs until smooth. This mixture will act as the binding agent for the breadcrumbs.
Step 5: In a third dish, combine the panko breadcrumbs with paprika and garlic powder. Stir to evenly distribute the spices.
Step 6: Dip each onion ring into the flour mixture, tapping off any excess. Then, dip it into the buttermilk mixture, allowing any excess to drip off. Finally, coat it thoroughly with the seasoned panko breadcrumbs, pressing gently to ensure they adhere.
Step 7: Place the coated onion rings on the prepared baking sheet in a single layer. Lightly spray them with olive oil to help them crisp up in the oven.
Step 8: Bake in the preheated oven for 15-20 minutes, flipping halfway through, until the onion rings are golden brown and crispy.
Step 9: Remove from the oven and let them cool slightly before serving. Enjoy your crispy, baked onion rings with your favorite dipping sauce.
Nutrition Facts
This recipe yields approximately 4 servings, with each serving containing about 250 calories. It’s a lighter alternative to traditional fried onion rings, making it a great choice for those looking to enjoy a healthier snack without sacrificing taste.
Preparation Time
The preparation time for these crispy baked onion rings is about 20 minutes, with an additional 15-20 minutes for baking. In total, you can have a delicious and satisfying snack ready in under an hour, making it perfect for impromptu gatherings or a quick family treat.
How to Serve
These onion rings are versatile and can be served in a variety of ways:
- As a side dish alongside burgers, sandwiches, or wraps.
- As an appetizer with a variety of dipping sauces such as ranch, spicy aioli, or honey mustard.
- As a topping for salads, adding a crunchy element to your greens.
- In a party platter, paired with other finger foods like mozzarella sticks or chicken wings.
- As a snack on their own, when you’re craving something savory and crispy.
Additional Tips
To ensure your onion rings turn out perfectly crispy, consider these additional tips:
- Tip 1: Use sweet onions like Vidalia for a milder, sweeter taste that complements the crispy coating.
- Tip 2: If you don’t have buttermilk, you can make a substitute by adding a tablespoon of lemon juice or vinegar to a cup of milk and letting it sit for 5 minutes.
- Tip 3: For extra crispiness, you can double-coat the onion rings by repeating the dipping process before baking.
- Tip 4: Make sure not to overcrowd the baking sheet, as this can prevent the rings from cooking evenly and becoming crispy.
- Tip 5: If you prefer a spicier kick, add a dash of cayenne pepper to the breadcrumb mixture.
FAQ Section
Q1: Can I make these onion rings gluten-free?
A1: Yes, you can substitute the all-purpose flour and panko breadcrumbs for their gluten-free counterparts. Ensure that the baking powder used is also gluten-free.
Q2: Can I prepare the onion rings in advance?
A2: You can slice the onions and prepare the breadcrumb mixture in advance, but for best results, coat and bake them just before serving to retain crispiness.
Q3: Can I use an air fryer instead of an oven?
A3: Absolutely! Air fryers are great for making crispy foods with less oil. Cook the onion rings in the air fryer at 400°F (200°C) for about 10-12 minutes, shaking the basket halfway through.
Q4: What dipping sauces pair well with these onion rings?
A4: Some popular choices include ranch, BBQ sauce, honey mustard, or a spicy sriracha mayo. Feel free to experiment with your favorites.
Q5: How should I store leftovers?
A5: Store any leftover onion rings in an airtight container in the refrigerator for up to 3 days. Reheat them in the oven or air fryer to restore their crispiness before serving.